

How to Paint Solid Wood Furniture (Without Ruining a Good Piece)
If you’ve got a solid wood piece you genuinely like, the idea of painting it can feel a bit nerve‑wracking. The worry is always the same: what if you ruin it? Drips, brush marks, peeling paint, or sanding through lovely grain can turn a “quick refresh” into a regret. The good news is that learning how to paint solid wood furniture is mostly about choosing the right prep and products for the finish that’s already on your piece — and taking your time in the boring stages so the fun part (the colour) actually lasts.
Whether you’re updating dining chairs that have seen a few too many family meals, or refreshing a bedroom chair that no longer suits your scheme, a careful paint job can look intentional, grown-up, and properly durable — while still respecting the handcrafted character of real timber.
1) Should you paint solid wood at all? (And when you shouldn’t)
Painting real wood furniture isn’t “wrong” — it’s just a design choice with trade-offs. Paint can modernise a room, tie mismatched pieces together, and make day-to-day wear less visually busy (especially in high-use spaces like kitchens and dining rooms). It’s also a smart move when the existing finish is tired, patchy, or stained beyond an easy repair.
That said, there are a few moments to pause before you pick up a brush:
- If you love the grain and warmth: solid timber (including mango wood) has a natural depth that paint will hide. If the beauty is the wood itself, consider a clean and re-oil/re-wax instead.
- If the piece is a future heirloom for you: paint is reversible, but stripping it later can be messy and time-consuming.
- If it’s already failing structurally (wobbly joints, splits, or loose dowels): fix the structure first. Paint won’t disguise movement for long — it will crack.
A good middle ground many people overlook: paint the frame and keep a wood seat (or vice versa), or choose a softer, breathable finish (like certain matt furniture paints) that still feels in keeping with natural materials.
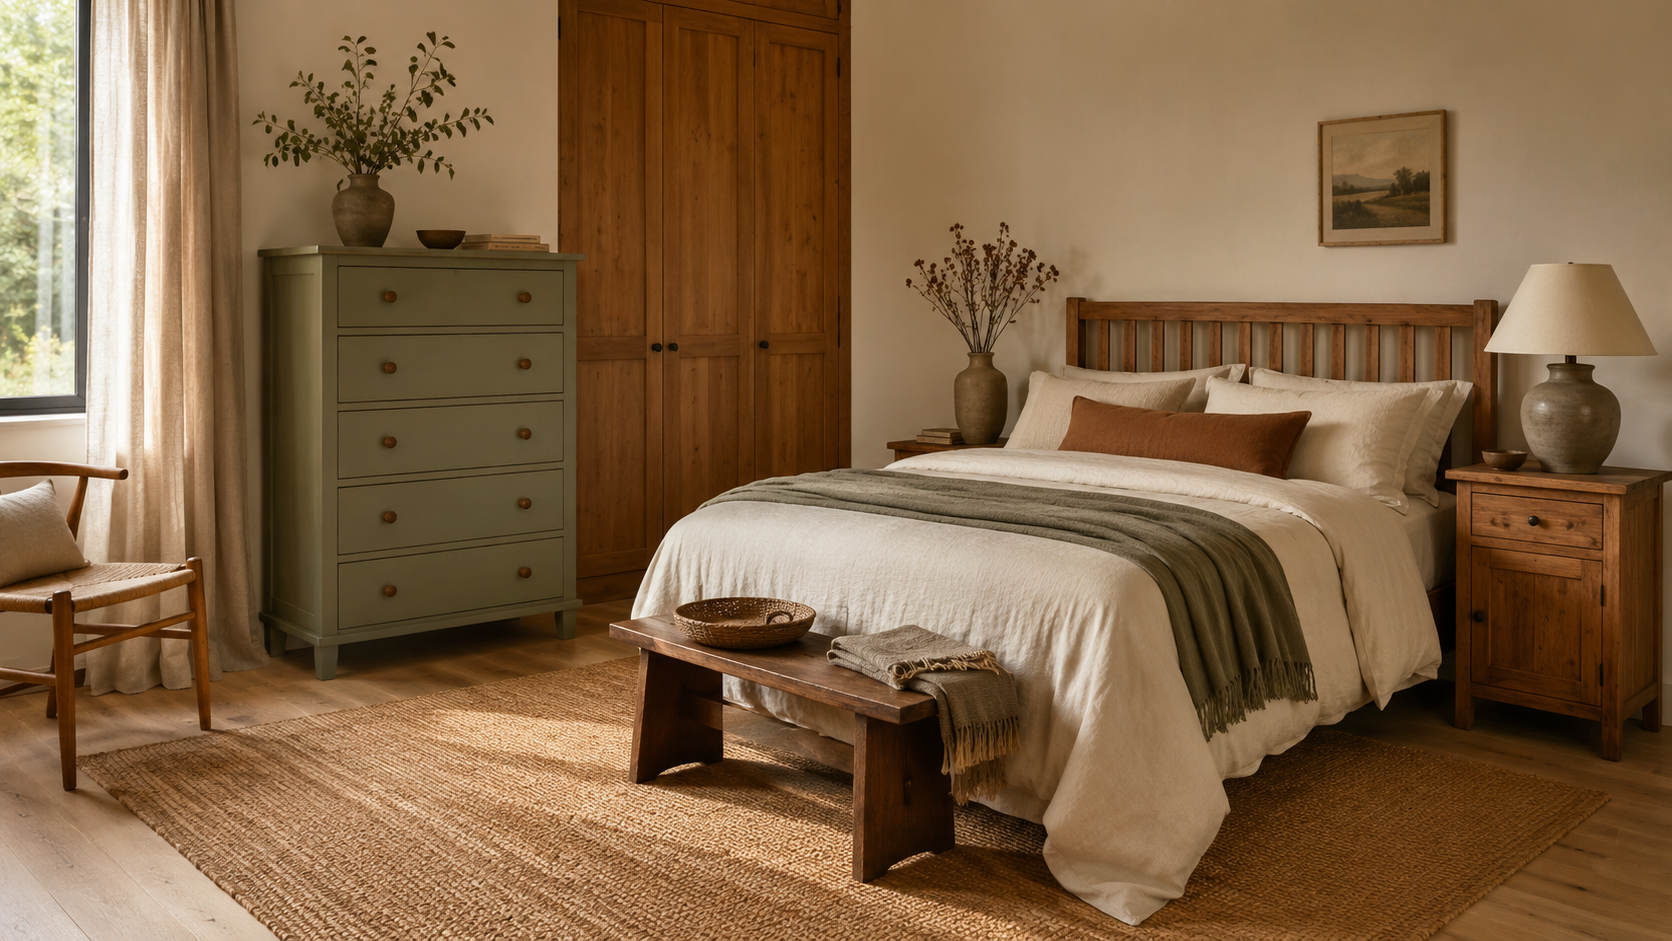
Real-world example: a pair of solid wood dining chairs can look beautifully intentional with a painted frame in a warm off-white, while a natural wood seat keeps the room feeling grounded and tactile.
2) What you’re really painting: bare wood vs varnish vs oil vs old paint
Most paint problems come from not identifying the current surface. Before anything else, work out what’s on the wood now:
- Bare wood: looks dry and porous; absorbs a little water quickly.
- Oiled wood: often feels silky and slightly matte; water may bead a bit. Oil can interfere with paint adhesion.
- Waxed wood: feels very smooth; water beads strongly. Wax is famously unfriendly to paint.
- Varnished/lacquered wood: looks sealed with a slight sheen; feels hard and “slick”. Paint can stick, but only if you prep properly.
- Previously painted: if it’s sound (not flaking), you can often paint over it after cleaning and sanding.
Quick test: wipe a hidden area with white spirit on a cloth. If the surface feels tacky or colour transfers, you may be dealing with wax or certain finishes and you’ll need a more thorough clean/de-wax.
If your furniture is solid mango wood, you’re working with a stable hardwood that takes finishes well — but like any real timber, it still expands and contracts slightly with seasons. That’s another reason prep and sealing matter: you want a finish that can cope with normal life rather than cracking at the first knock.
3) How to paint solid wood furniture: prep steps that actually make paint last
If you only give time to one stage, make it this one. Proper preparation is what stops peeling, chips, and that sticky feel months later.
Step 1: Remove hardware and protect the space
Take off handles, seat pads, and rubber feet where possible. Pop screws in a labelled bag.
Step 2: Clean like you mean it
Use a degreasing cleaner (especially for dining furniture). Everyday grime is invisible until it ruins adhesion. Rinse and let it fully dry.
Step 3: Deal with wax/oil if present
If you suspect wax, use a dedicated wax remover/degreaser and plenty of clean cloths. For oily residues, a solvent-based degreaser can help. Let it evaporate fully.
Step 4: Sand for a key (not to obliterate the piece)
You usually don’t need aggressive sanding. The goal is to create a slightly dull surface so primer can grip.
- For glossy varnish: start around 120–150 grit, finish 180 grit.
- For already-matt surfaces: 180 grit is often enough.
Avoid rounding over crisp edges and corners — that’s where furniture looks “tired” fastest.
Step 5: Repair small issues
Fill chips or dents with a suitable wood filler, let it cure, then sand flush. Tighten joints. If a chair wobbles, fix it before paint.
Step 6: Dust properly
Vacuum, then wipe with a damp cloth or tack cloth. Dust is the hidden culprit behind rough finishes.
This prep is the difference between a chair that looks freshly updated and one that starts shedding paint where your hands naturally rest.
4) Primer, paint, or chalk paint? Choosing the right system for your piece
The best paint job is a system: prep + primer (when needed) + topcoats + optional sealer.
When you need a primer
- You’re painting over varnish/lacquer.
- The wood has tannins that may bleed (some timbers are more prone; staining can also bleed through).
- You’re making a big colour change (dark to light, or strong colour to pale neutral).
A good bonding primer helps paint grip and prevents patchy coverage. If you’ve ever seen paint scratch off with a fingernail, it’s usually a primer/prep issue.
Furniture paint vs standard wall paint
Wall paint isn’t designed for knocks, rings, and repeated handling. Choose a paint formulated for furniture/woodwork for a tougher finish.
Chalk paint: when it’s great (and when it’s not)
Chalk paint can be brilliant for beginners because it’s forgiving and often doesn’t require perfect prep on lightly sealed surfaces. But it typically needs a wax or lacquer topcoat to stand up to real use — especially on chairs and dining furniture where hands, belt buckles, and chair backs take constant wear.
Finish choice matters
- Matt: soft, contemporary, hides imperfections; can mark more easily.
- Eggshell/satin: practical and wipeable; still looks grown-up.
- Gloss: very durable but shows brush marks and can feel a bit “hard” visually.
If your goal is a warm, timeless look (rather than shiny), eggshell or a soft matt furniture paint often feels most at home with natural textures and neutral schemes.
5) Technique that looks professional: brushes, rollers, and drying times
Great technique is mostly restraint.
Use the right tools
- A good-quality synthetic brush is ideal for water-based furniture paints.
- A small foam roller can give a smoother finish on flat areas (chair seats, table tops), then “lay off” lightly with a brush.
Thin coats beat thick coats
Two to three thin coats are far tougher (and smoother) than one heavy coat. Heavy coats lead to drips on edges and a rubbery finish that chips.
Paint with the grain
Even if you’re covering it, following the grain reduces visible brush lines.
Respect drying and curing
Paint can feel dry quickly but still be soft underneath. Follow the tin for recoat times, and remember curing can take longer. Treat the piece gently at first — especially chairs where constant contact can scuff edges before the paint has hardened.
Don’t forget the underside edges
On chairs and benches, the front edge of the seat and the backrest top rail get the most handling. Extra care (and an extra thin coat) here pays off.
Real-world example: if you’ve got solid wood dining chairs in a busy family kitchen, a calm, mid-tone colour (soft olive, warm grey, inky blue) in an eggshell finish tends to hide fingerprints and scuffs better than a very pale matt.
6) Do you need to seal painted wood furniture?
Sealing depends on the paint system and how the furniture is used.
Often, you don’t need an extra sealer if you’re using a durable furniture/woodwork paint designed to be self-sealing. Adding a topcoat on top of some paints can actually reduce durability if the products aren’t compatible.
You probably do want a protective topcoat if:
- You used chalk paint (wax or lacquer is usually part of the system).
- The piece is a high-wear surface (dining chair seats, bench tops, table tops).
- It will be cleaned frequently.
Wax vs water-based topcoat
- Wax gives a soft, traditional feel but needs maintenance and can show marks.
- A clear water-based topcoat is generally more practical for everyday dining furniture.
Whatever you choose, test on a hidden area first. And remember: the toughest finish still benefits from felt pads, careful lifting (not dragging), and a little patience during the curing period.
7) Keeping the charm: colour and styling ideas that suit real wood furniture
A good paint colour should make the piece feel more “yours” without making it look like a quick DIY afterthought.
A few colour directions that suit solid wood furniture particularly well:
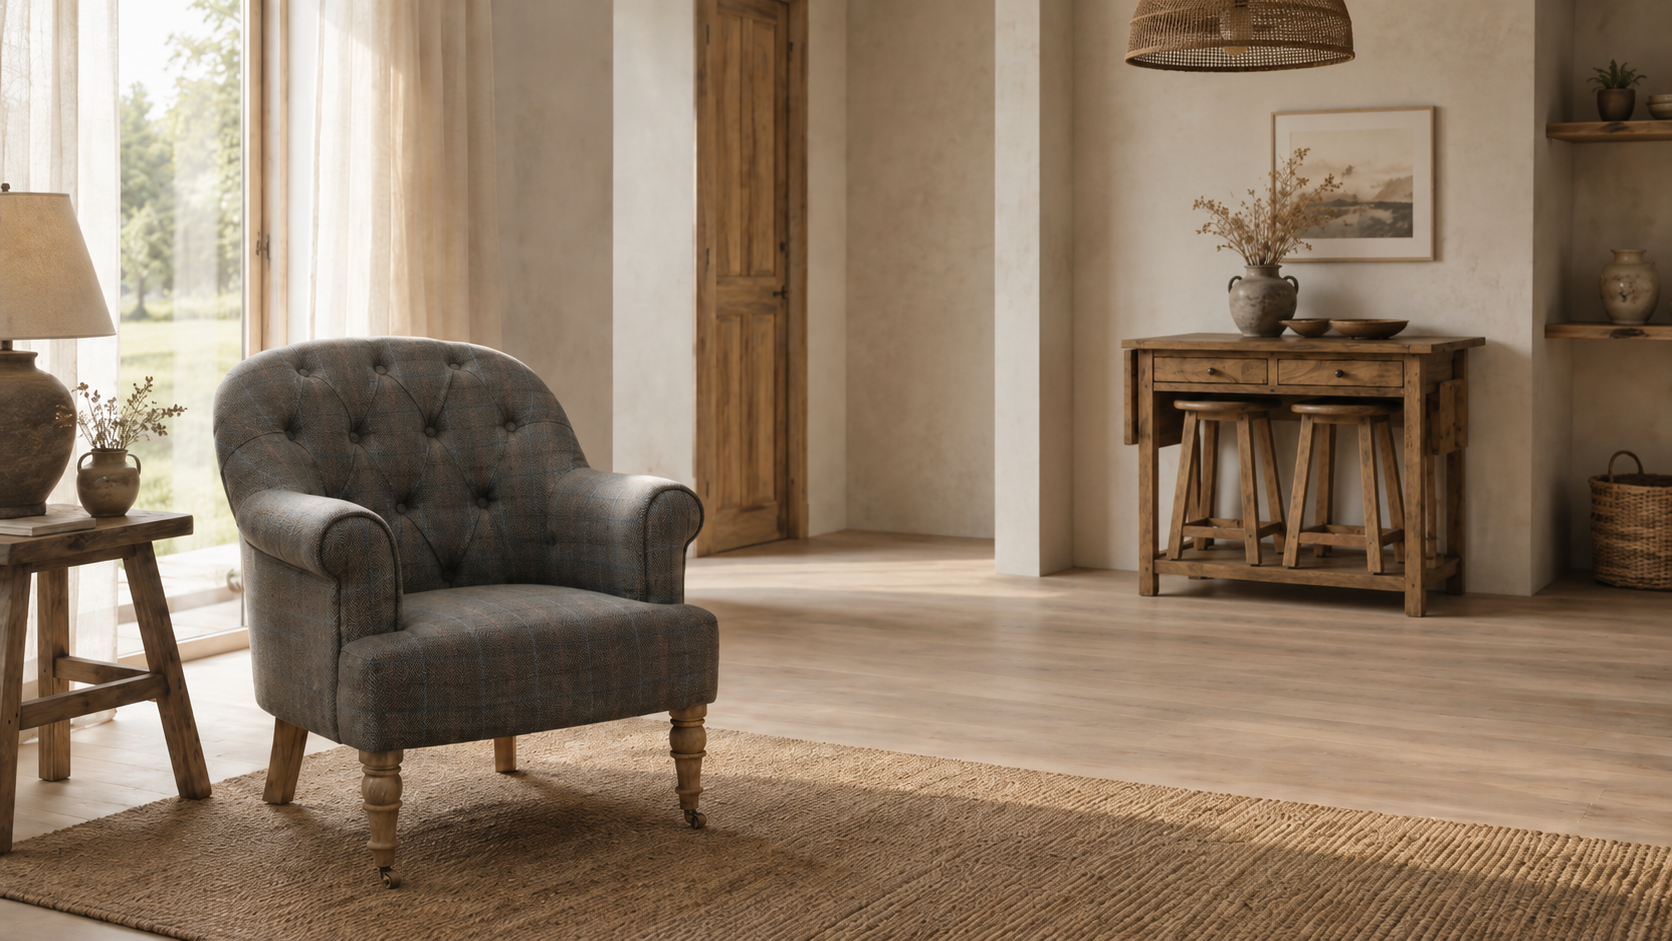
- Warm whites and oatmeal tones: soften a room and work with natural textures (linen, wool, jute). Ideal for Scandinavian or Japandi interiors.
- Muted greens (sage, olive): calm, grown-up, and flattering next to plants and warm timber floors.
- Inky blues and charcoals: give mid-century silhouettes a more modern edge while still feeling timeless.
- Earthy clay and taupe: adds warmth without shouting.
Styling tips that keep it feeling intentional:
- Pair painted chairs with a natural wood dining table for contrast and warmth.
- Repeat the colour elsewhere (a lampshade trim, artwork, or textiles) so the furniture feels integrated.
- Let one element stay natural — a wood seat, a cane panel, or simply the surrounding timber tones — so the room doesn’t lose depth.
If you love the idea of a makeover but want a piece that already has that warm, characterful foundation, starting with well-made solid wood furniture makes the project far more satisfying. A properly built chair with good proportions will still look right after a colour change — because the shape and material quality are doing half the work.
Conclusion
Painting a good piece doesn’t have to be a gamble. Once you know what finish you’re dealing with, take the time to clean, lightly sand for a key, choose the right primer and paint system, and let it cure properly, you can update a room without losing the integrity of real timber. That’s the heart of how to paint solid wood furniture: thoughtful prep, compatible products, and patience.
If you’re planning a refresh — whether it’s dining seating that needs to handle everyday life, or a bedroom chair you want to bring into your current palette — explore our handcrafted solid mango wood furniture collection. You’ll find pieces with the kind of warmth and character that make a paint makeover feel considered rather than temporary.


